Series – Virtual Server Infrastructure Configuration
In this post I will show how to add shared storage to your new Failover Cluster in the form of a Storage Pool.
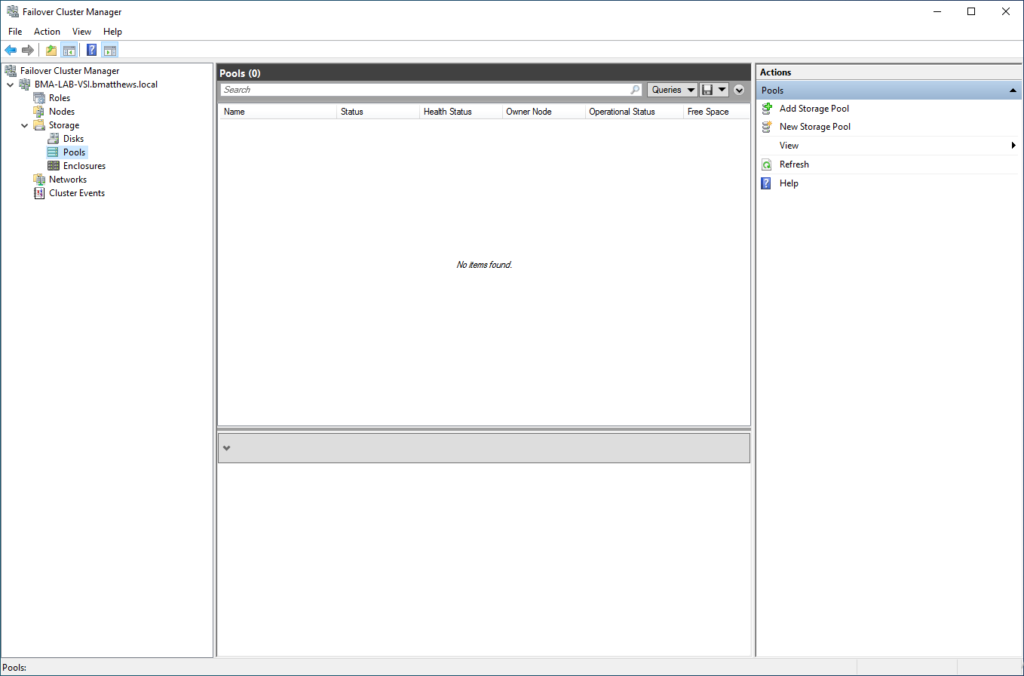
Open the Failover Cluster Manger and click New Storage Pool.
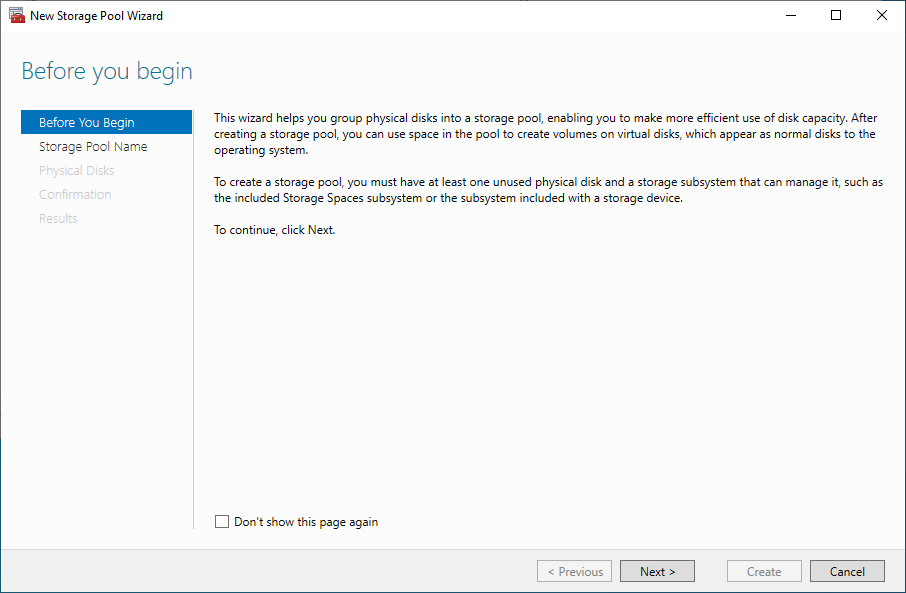
Click Next.
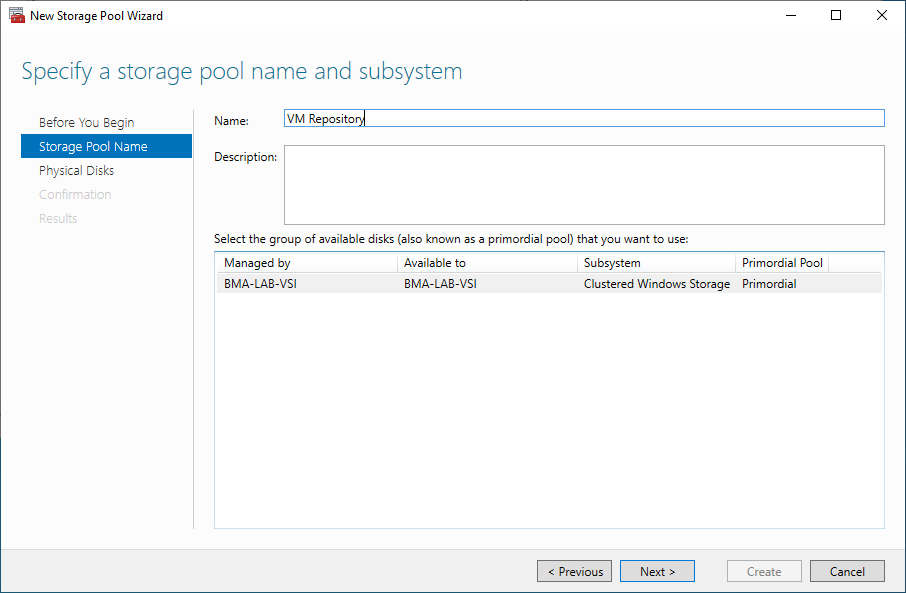
Type a Name for your new Storage Pool.
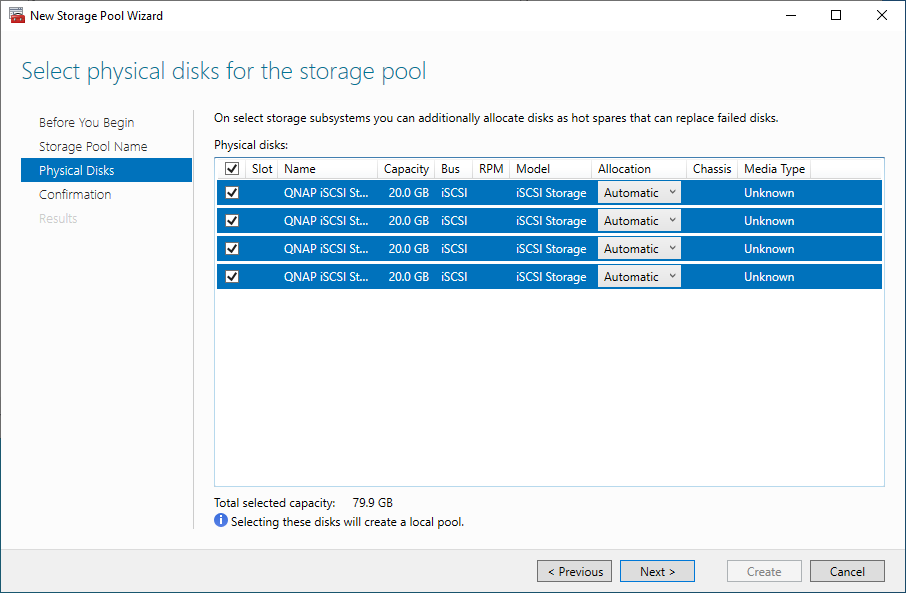
Select the Physical Disks to add to the new Storage Pool.
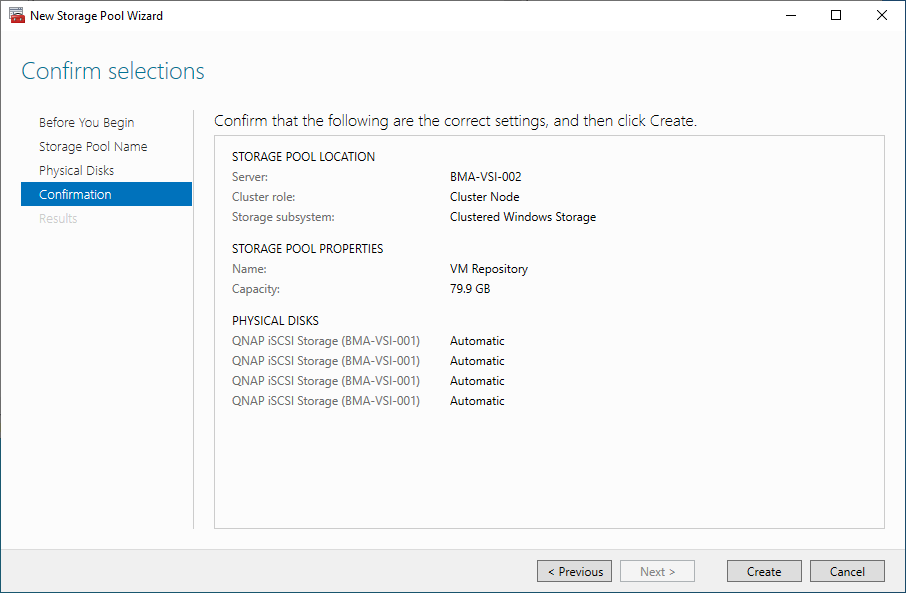
Click Create on the Confirmation screen.
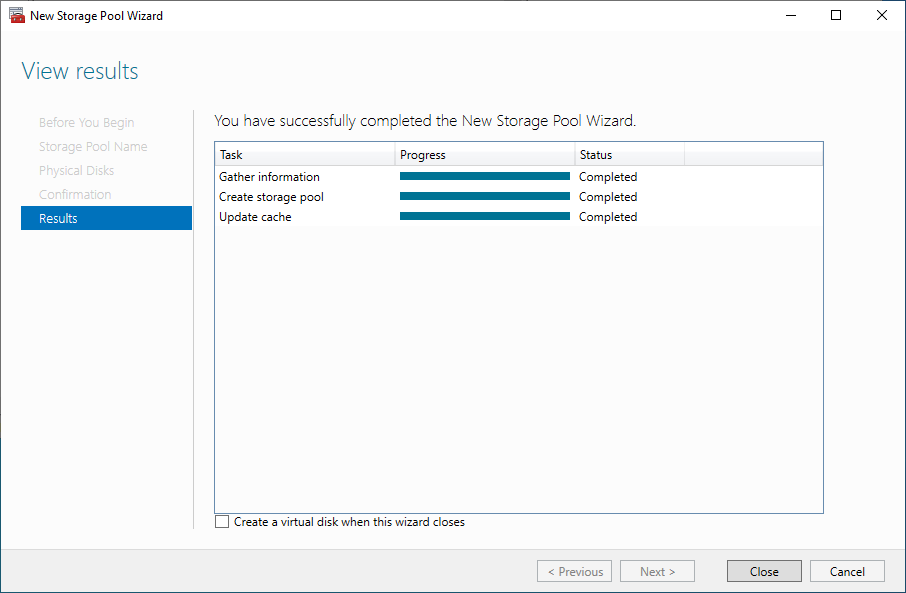
Click Close on the Results screen.
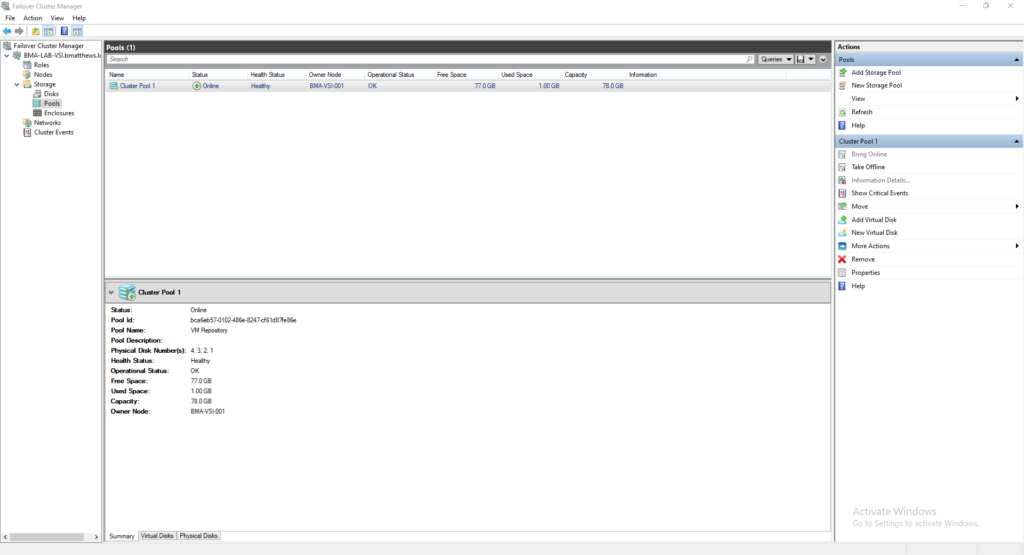
In the Failover Cluster Manager you will now see the newly created Storage Pool. If you select the pool it will display the name that you chose earlier.
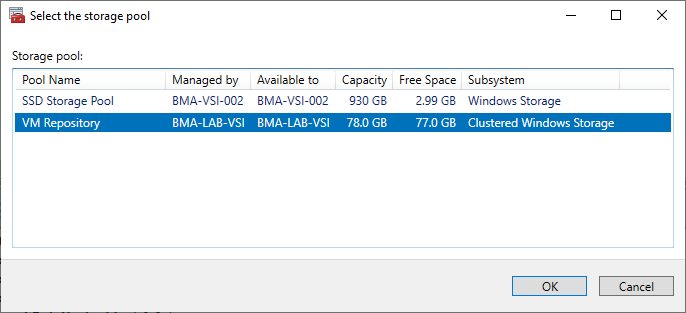
Click New Virtual Disk in the Actions pane and select your newly created Storage Pool.
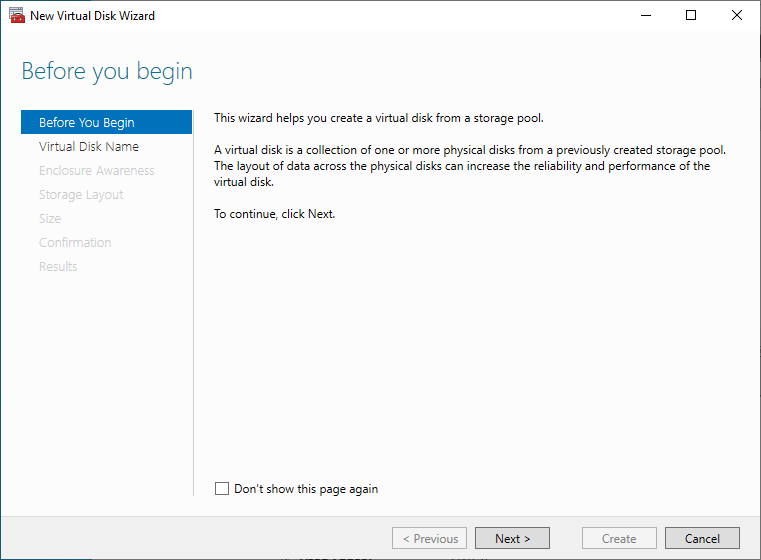
Click Next.
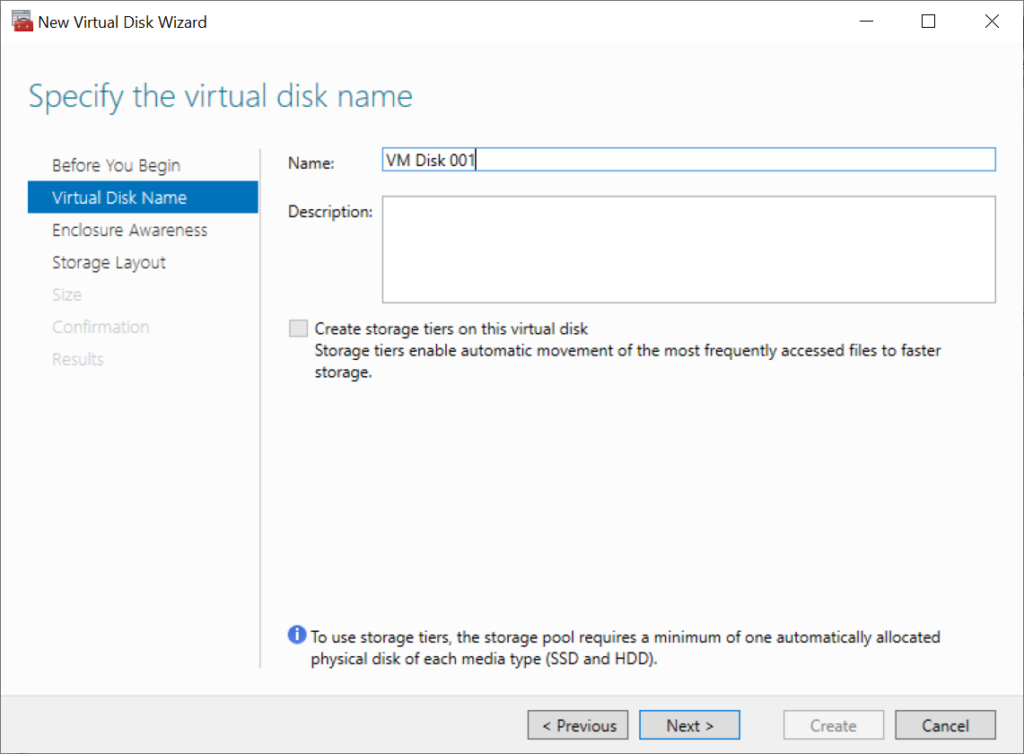
Enter a Name for the new Virtual Disk.
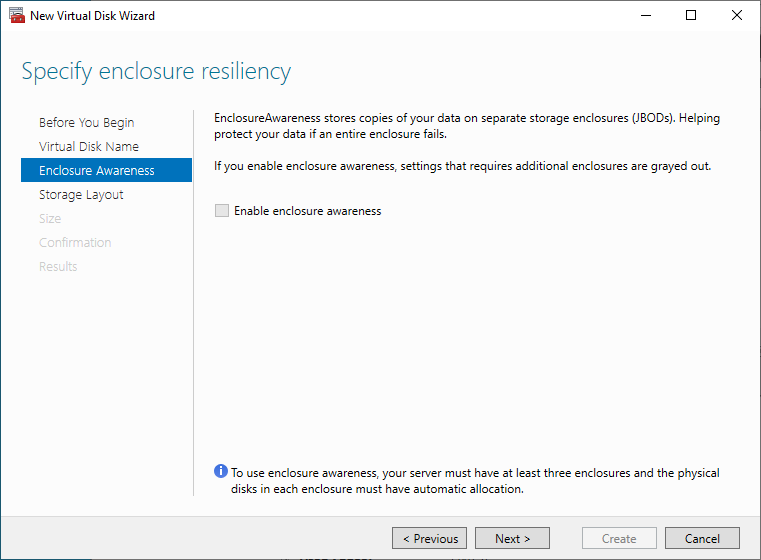
Click Next on the Enclosure Awareness screen.
Choose a Storage Layout, in my case I chose Simple.
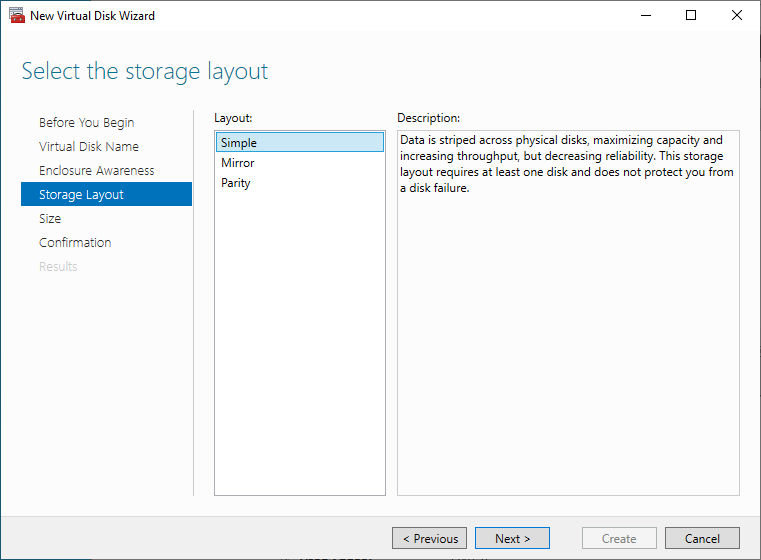
Choose a Size for the new Virtual Disk.
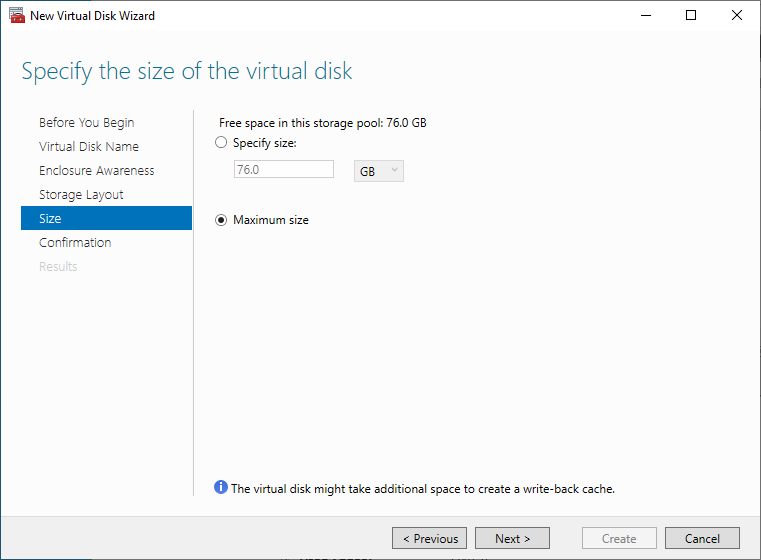
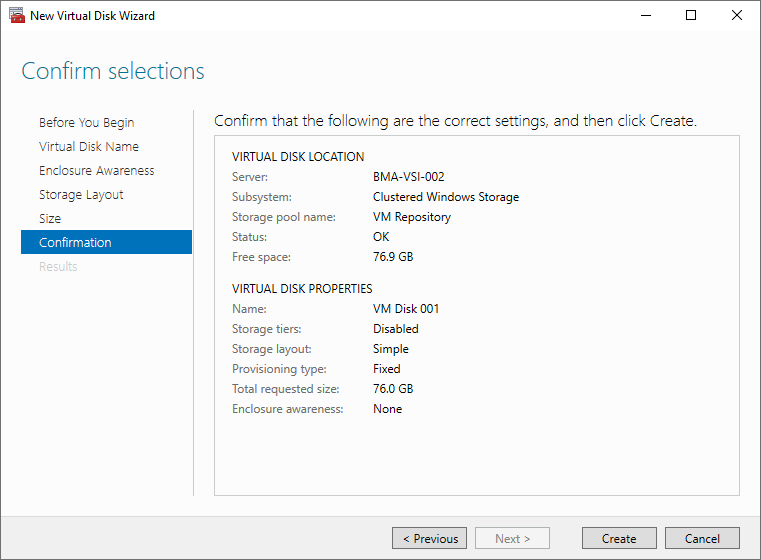
Review the Confirmation screen and click Create.
Review the Results screen and click Close.
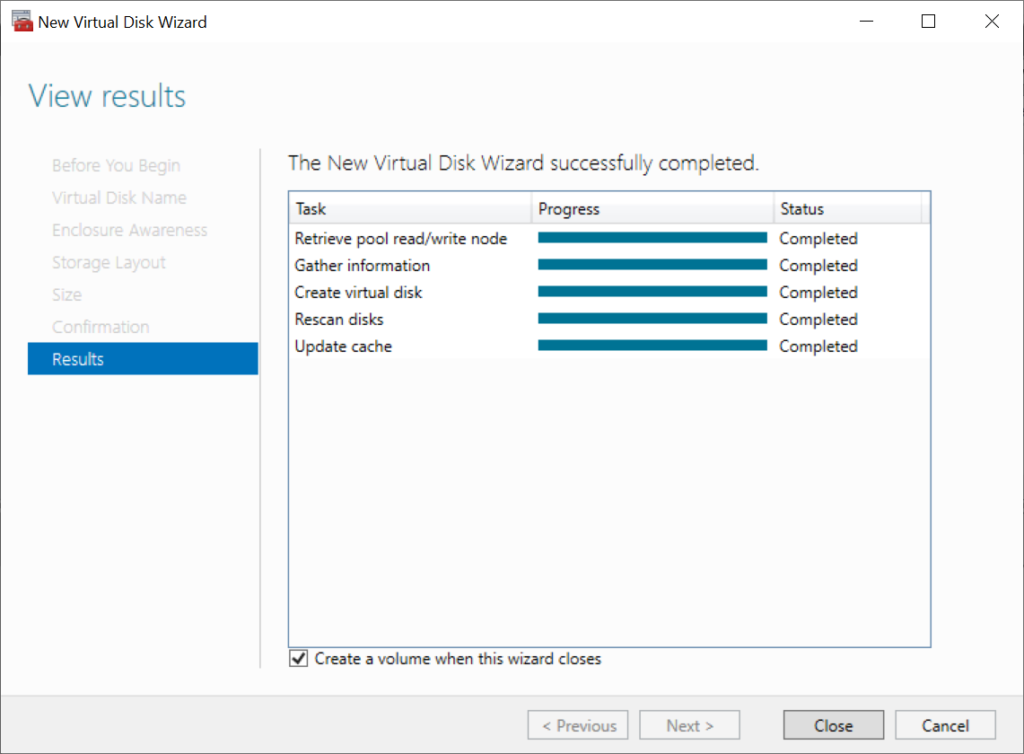
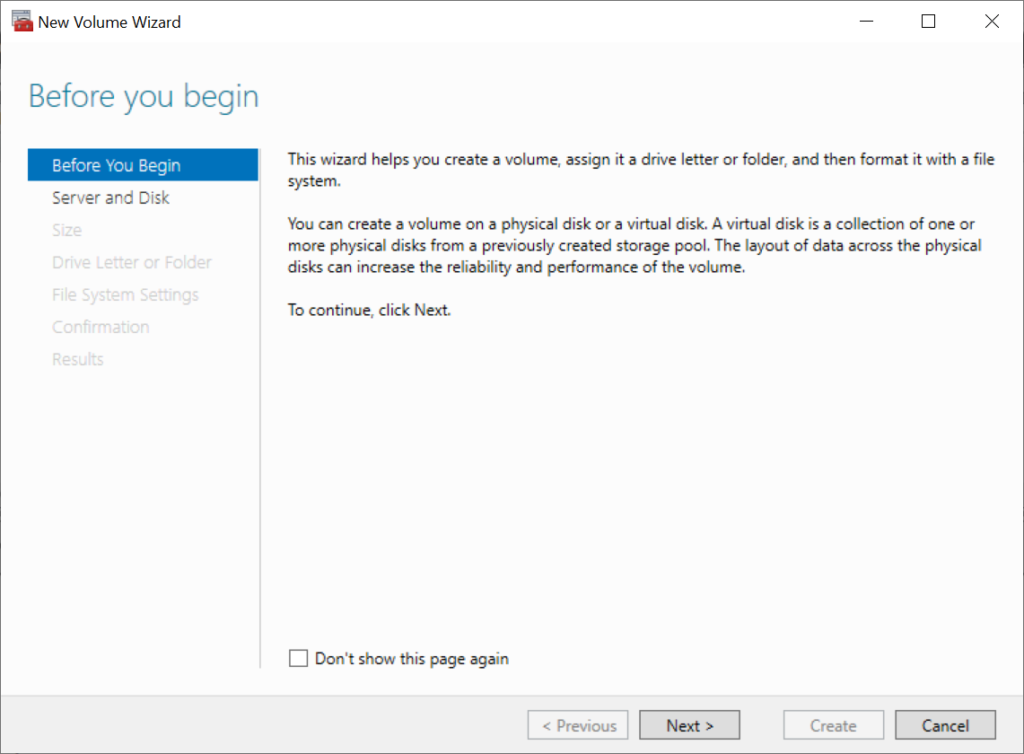
In the New Volume Wizard click Next.
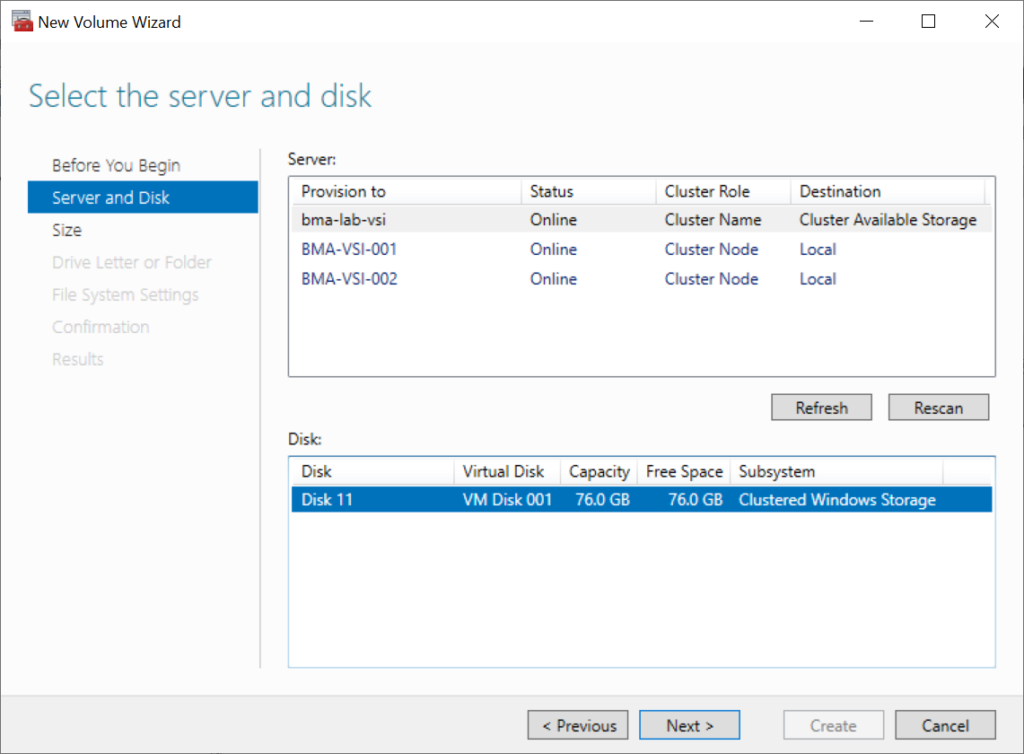
Select your Cluster by name and newly created Disk.
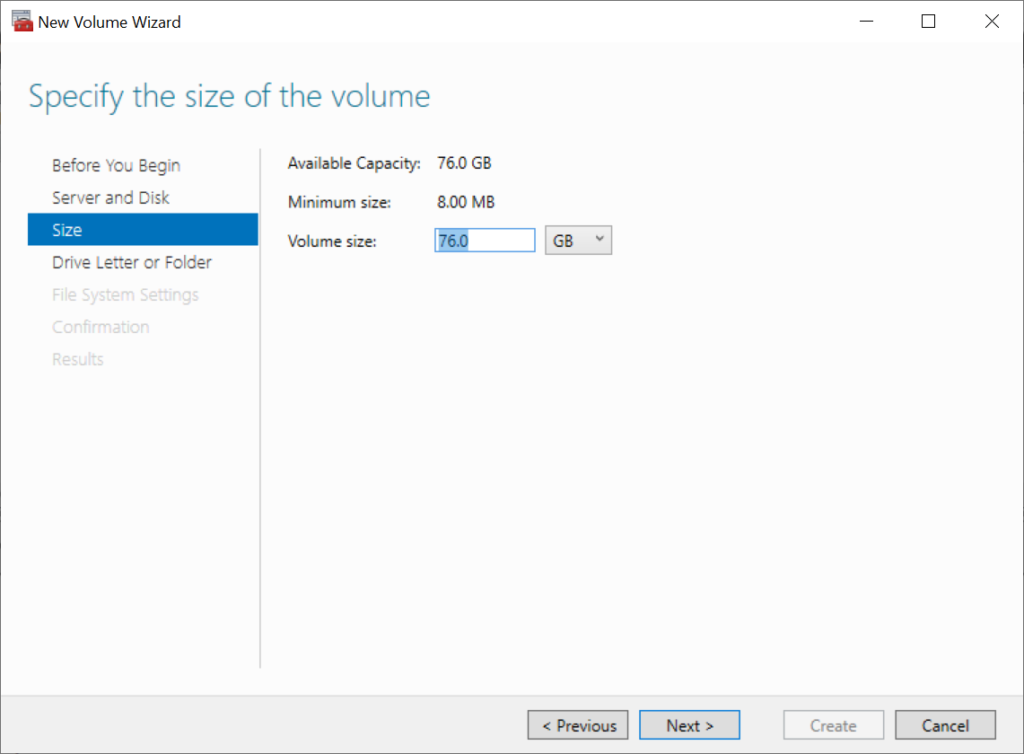
Choose a Size for the volume.
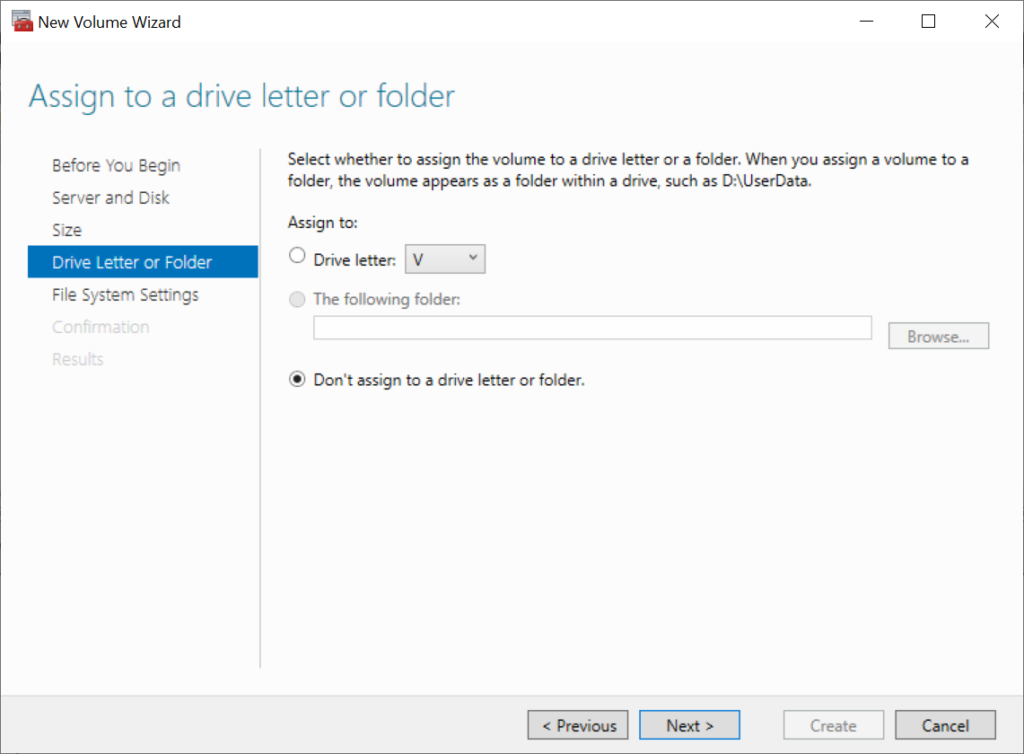
I chose not to assign a Drive Letter.
Enter a Label for the new volume.
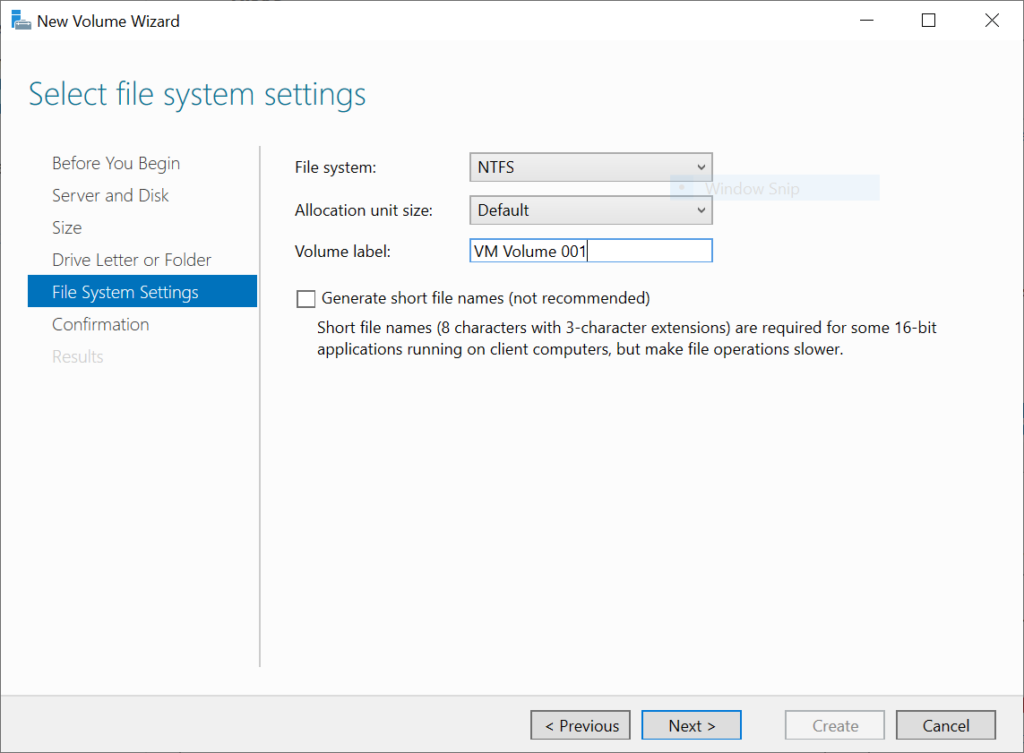
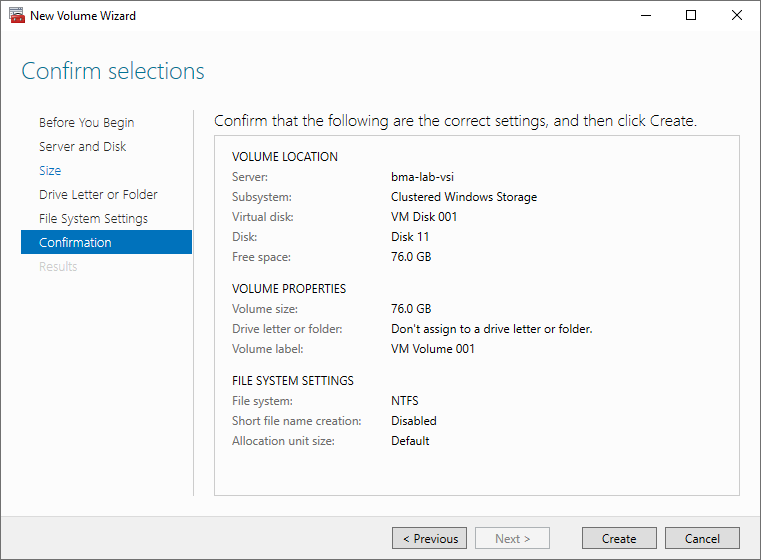
Review the Confirmation screen and click Create.
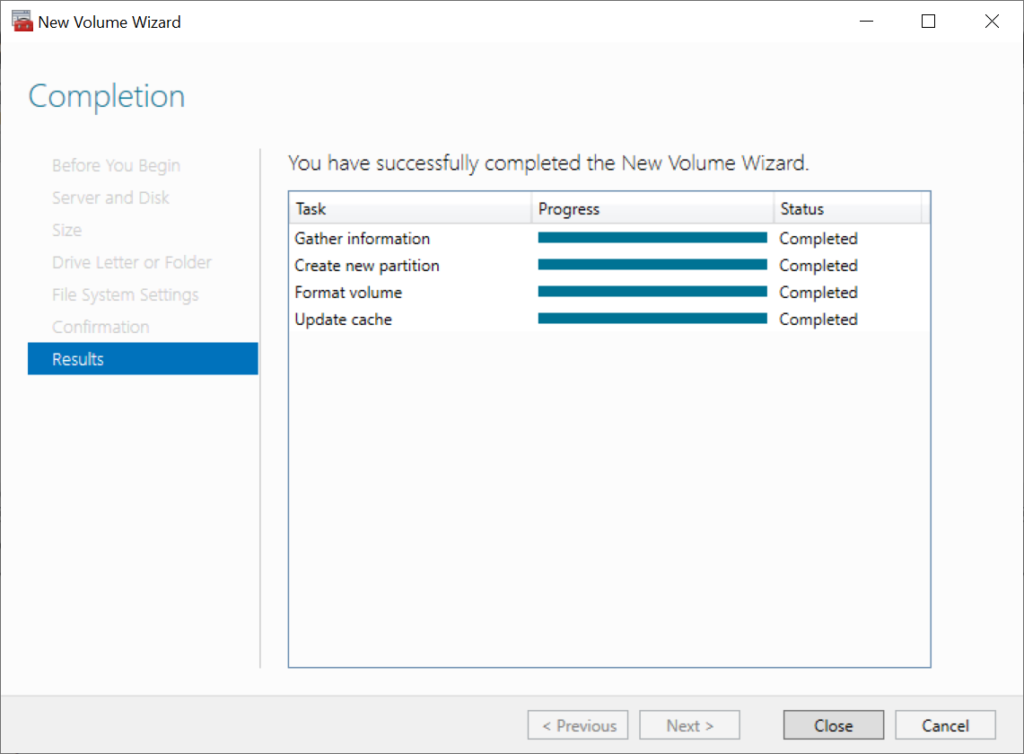
Review the Results screen and click Close.
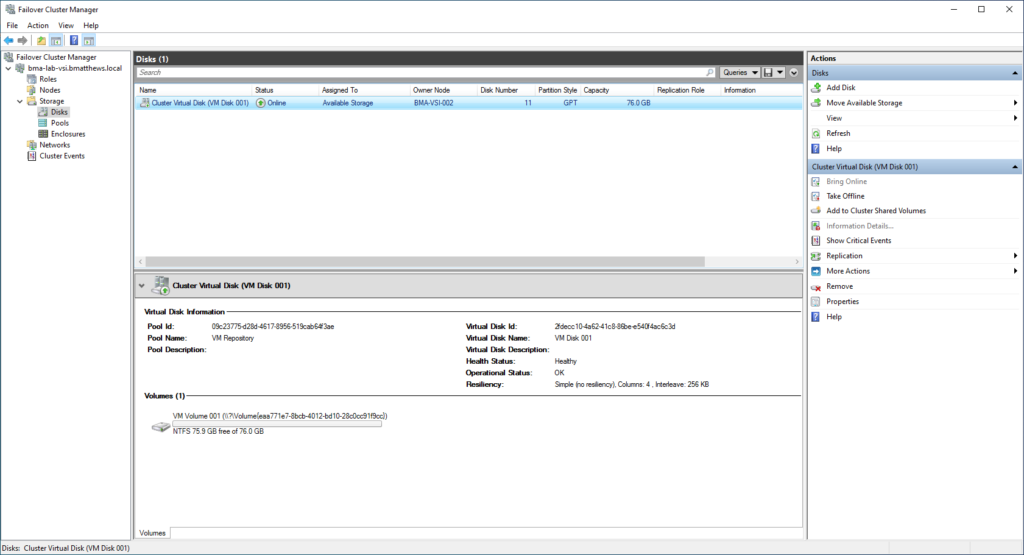
You will now see your new Virtual Disk in the Failover Cluster Manager, marked as Available Storage.
Please read my next post on Cluster Shared Volumes (CSVs). This will show how you can convert your newly created Virtual Disk into a Cluster Shared Volume that all Hyper-V hosts can access.

