
Series – Virtual Server Infrastructure Configuration
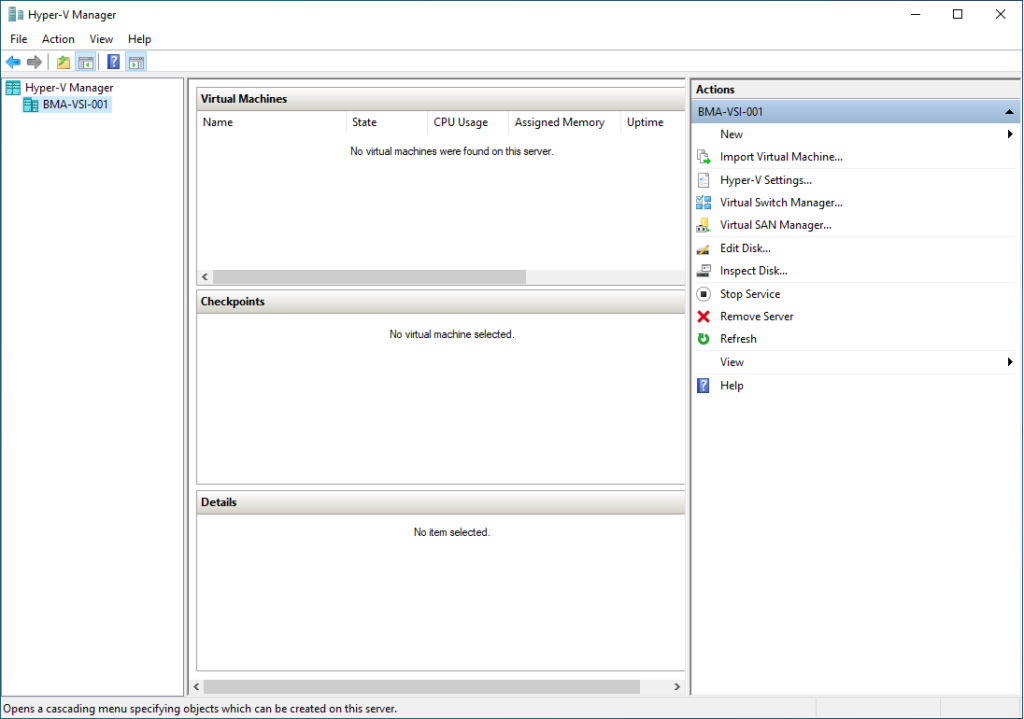
In this post I will show how you can create a new Virtual Machine on your host using the Hyper-V Manager.
Select New > Virtual Machine.
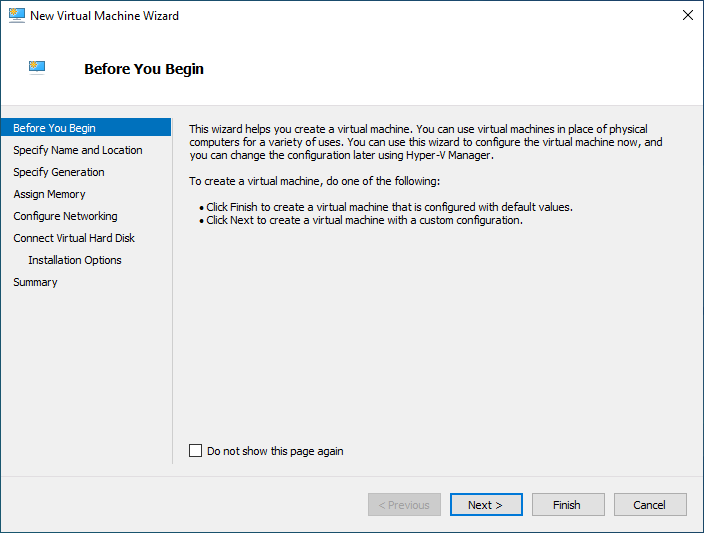
On the first screen of the New Virtual Machine Wizard, Click Next.
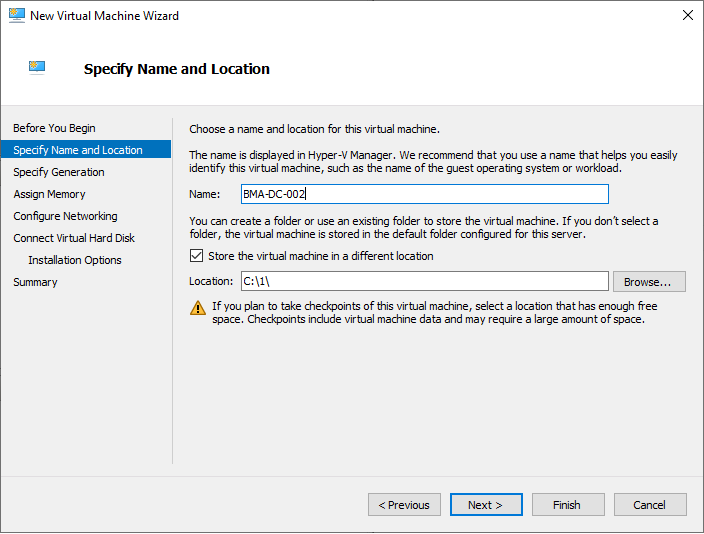
Type a name for your Virtual Machine. In my case I chose a name which will also be the Hostname for my first Active Directory Domain Controller.
I also chose to store the Virtual Machine files within the folder C:\1. This will ensure all of the VM resources are stored together in a central place.
Click Next.
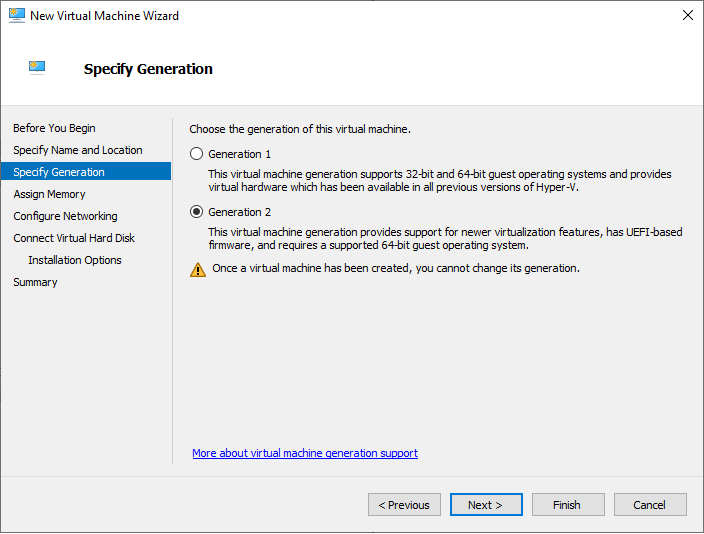
Choose Generation 2 as the generation version.
Click Next.
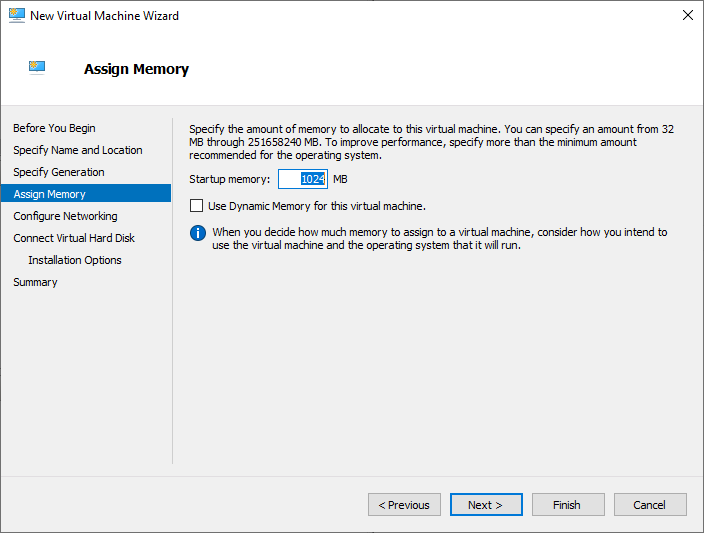
Choose the amount of RAM which you’d like to provision the VM with. I chose 1GB/1024mb which is very low.
Click Next.
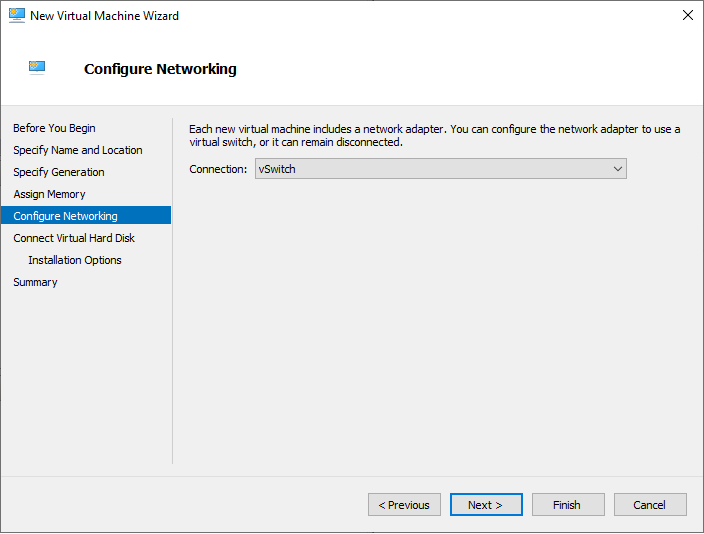
Select the Virtual Switch (vSwitch) to use with the VM.
Click Next.
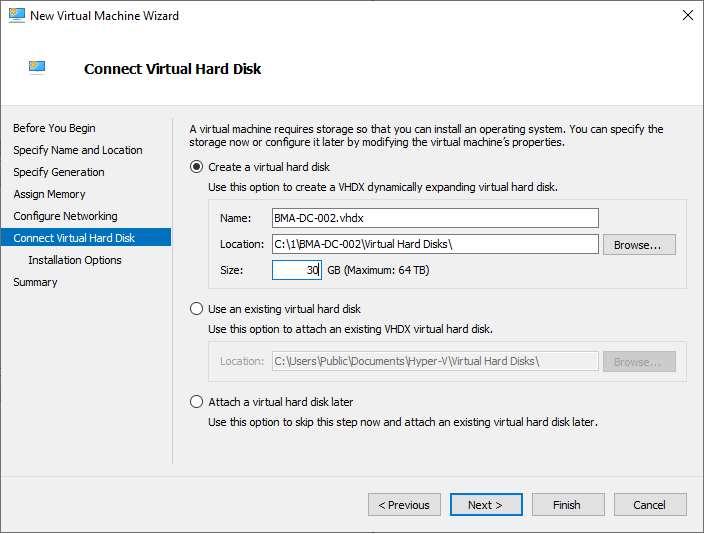
Create a new Virtual Hard Disk. I chose to re-size the virtual hard disk from the default size of 127GB down to 30GB. I did not want to provision this VM with too much disk space which would be wasted.
Click Next.
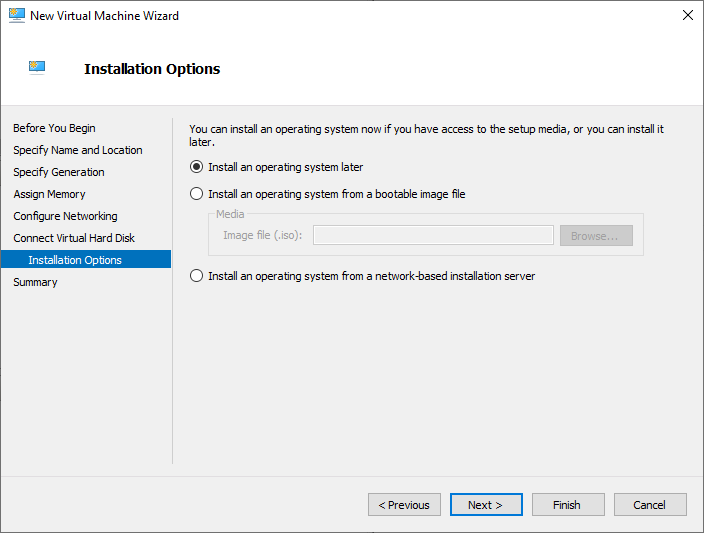
Choose to install an operating system later.
Click Next.
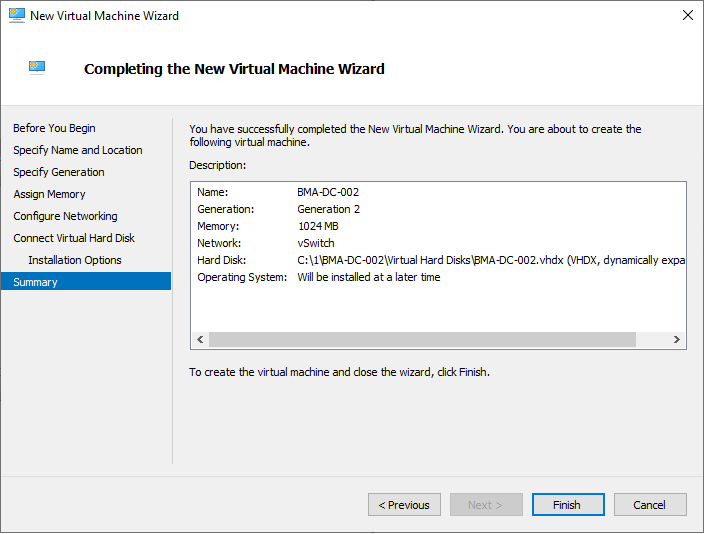
Review the settings and select the Finish button.
Please see my next post on how to install an Operating System on the new VM.