
Series – Virtual Server Infrastructure Configuration
In this post I will show how to move your Virtual Machine Storage to the Cluster Shared Volume (CSV) as part of your VSI configuration.
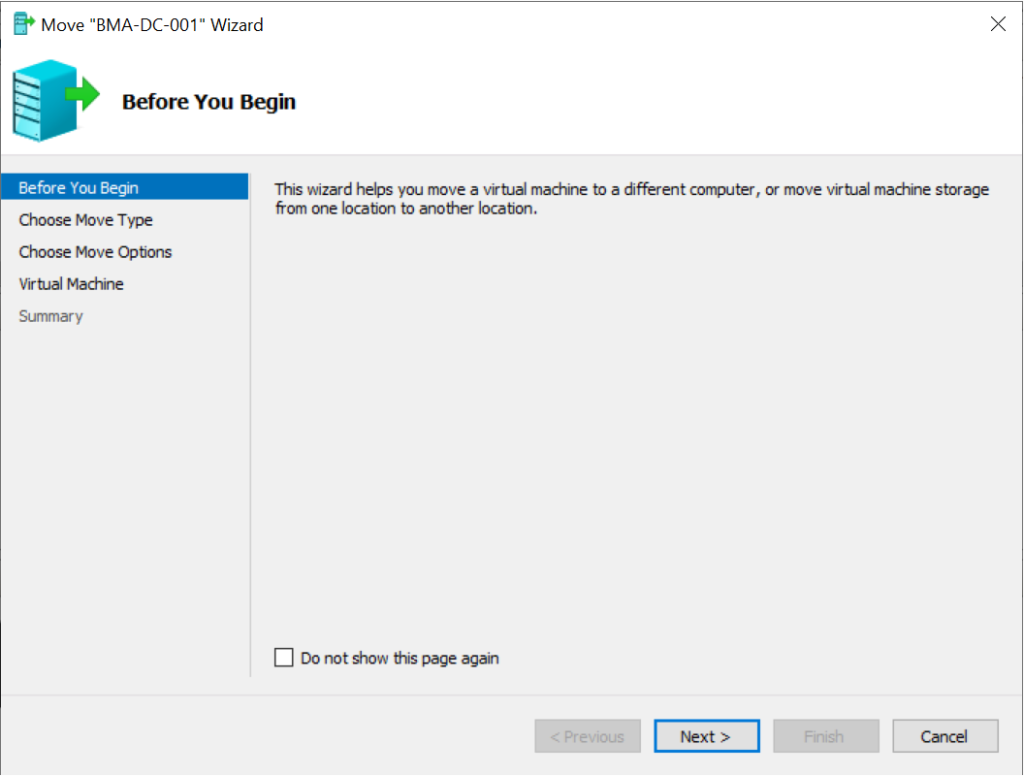
Within the Hyper-V Manager, right-click your Virtual Machine and select Move.
Click Next.
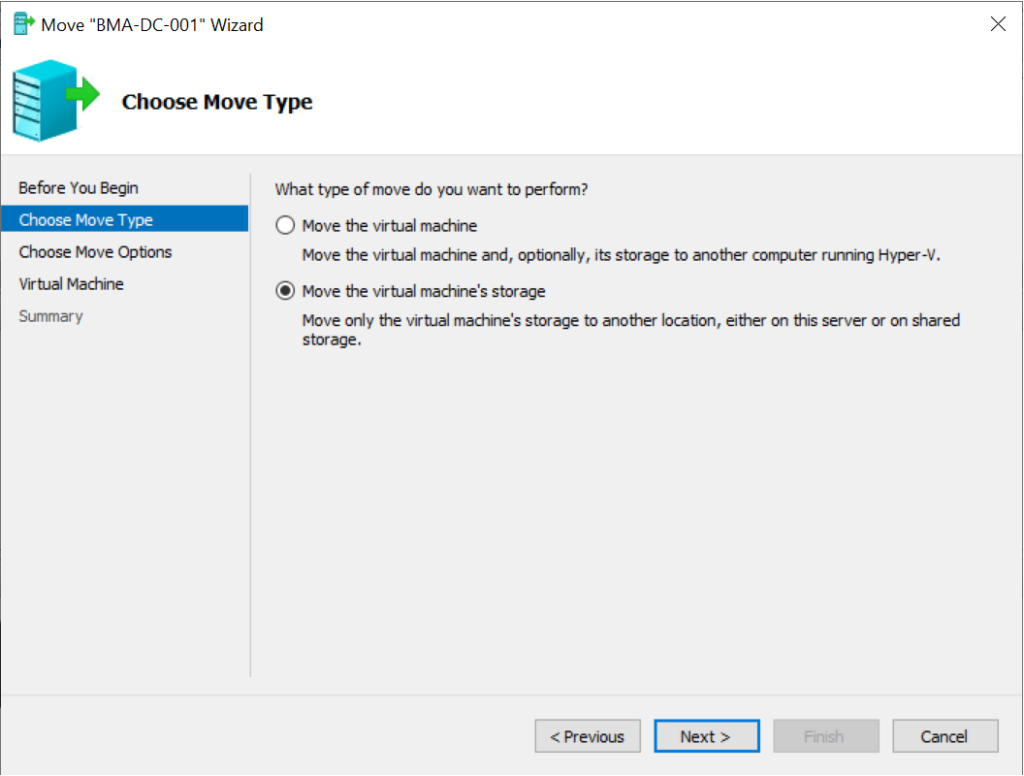
Select the option to Move the virtual machine’s storage. This will move the actual files which are linked to the VM, rather than the first option of moving only the virtual machine.
Click Next.
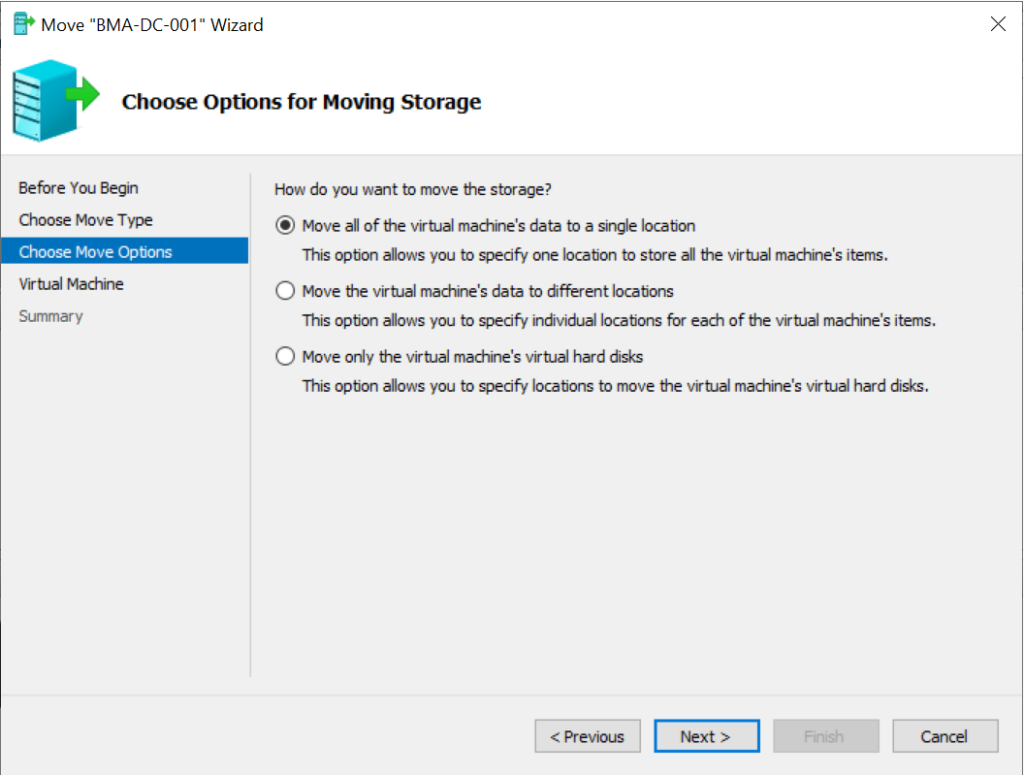
Select the option to Move all of the virtual machine’s data to a single location. This option will move all of the data files to the same location. You can also choose to move the virtual machine’s files to different locations. Depending upon how you have configured your environment or storage space.
Click Next.
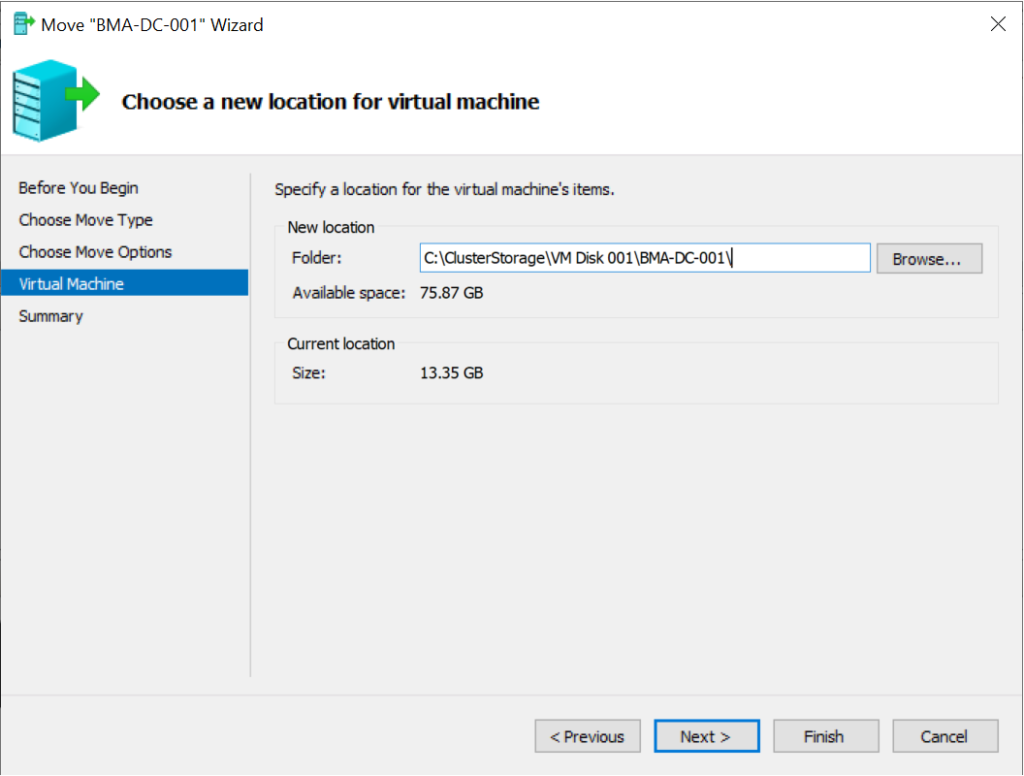
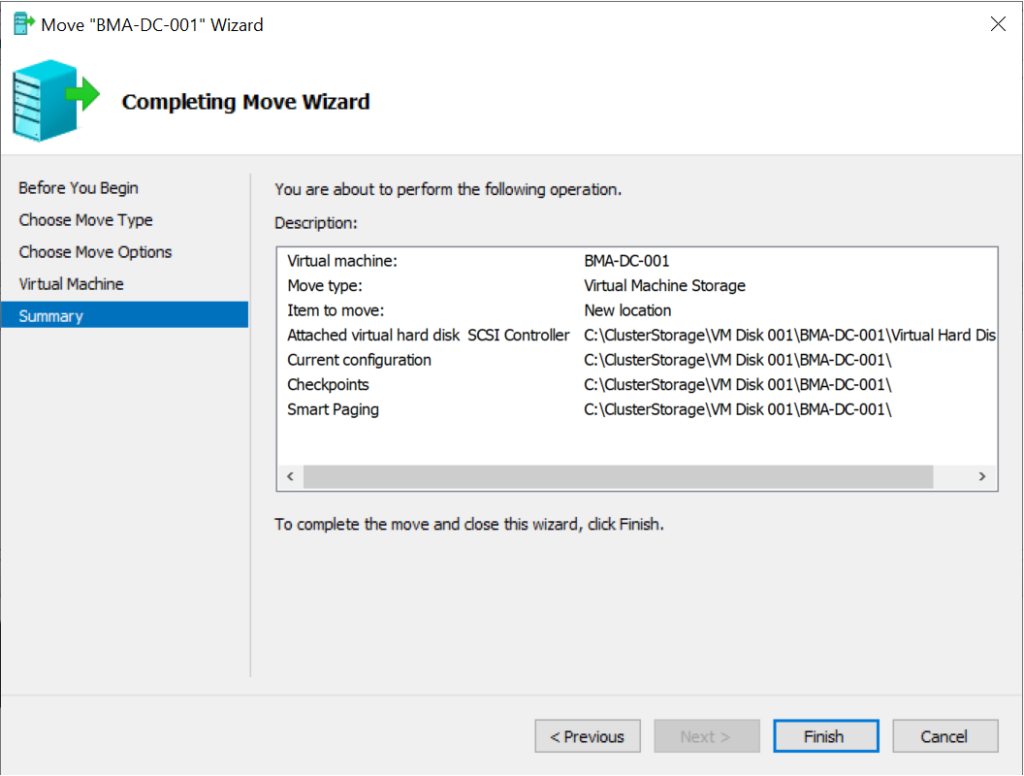
Select the CSV location for the virtual machine files. Remember, when you add a CSV to your cluster, it will create a new folder in the C:\ drive with shortcuts to the CSVs. In the move below, the virtual machine files will be moved to a folder called BMA-DC-001 within the CSV called VM Disk 001.
Click Next.
Review the Completion screen, this will show you useful information about the target storage location for the various virtual machine files.
Click Finish.
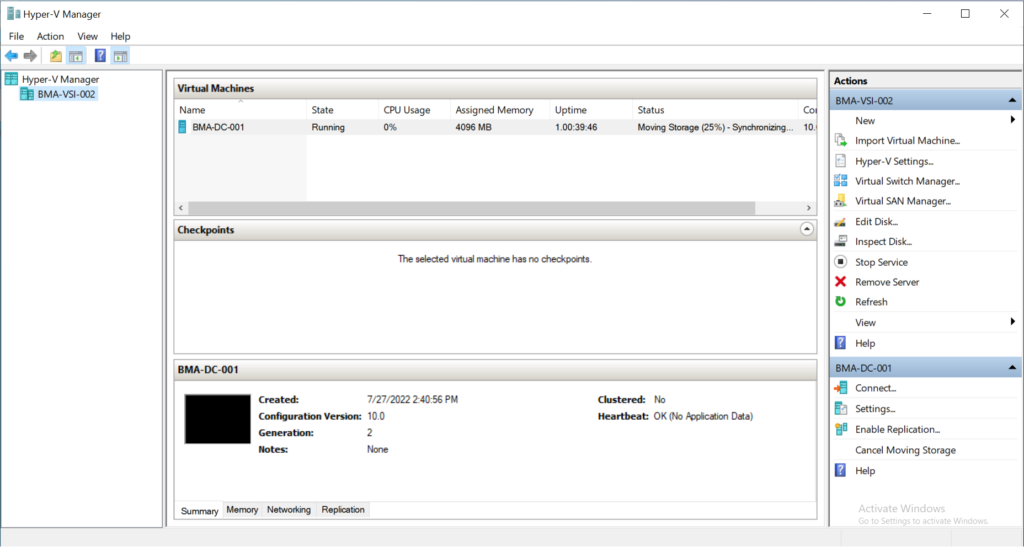
Navigate back to the Hyper-V Manager and you will be able to see the move progress using the Status column.
The status information will disappear once the move has completed.
Please read my next post on adding a virtual machine to a Failover Cluster.

